Simple Web Image Converter scenario
| 1. |
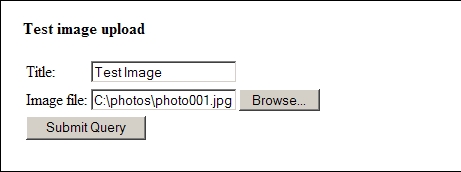
Navigate to the website where you want to upload photos.
Select photos for upload and start uploading.
|
|
| |
| 2. |
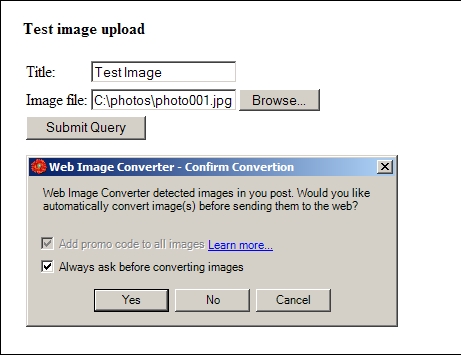
Web Image Converter detects that you're uploading photos, which prompts a dialog box.
You can choose not to show the pop up dialog box in the future. You can do this by unchecking
the box "Always ask before converting images".
|
|
| |
You can select:
"Yes" to convert the image(s) and then upload the converted image(s)
"No" to upload the original image(s)
"Cancel" to cancel the upload.
|
| |
| 3. |
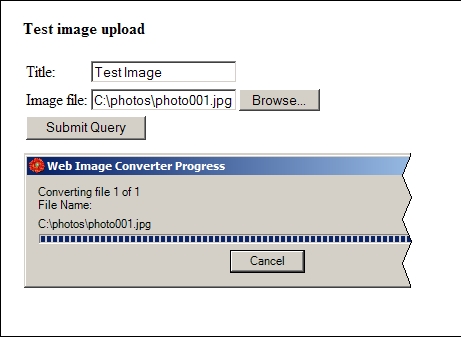
If you selected "Yes" in the previous dialog box,
then you'll see the convertion progress and after the convertion is complete,
the image is automatically uploaded to the website.
|
|
Settings dialog
Web Image Converter provides you with multiple settings. To learn more about Free Image Converter for IE settings click here.
